A couple of weeks ago I promised you a tutorial on how to make the printed ribbons that I made for the recent Livingetc shoot. Ironically the giant Christmas tree that we decorated was barely featured in the printed article itself but you can see it in the background of one of the shots!
These are very simple to make and you can get creative with your choice of ribbon colours and of course the text that you print onto them. I chose hot pink, bright turquoise & lilac satin ribbons and the wording, "mon beau sapin" (which means my beautiful Christmas tree in French)
You will need:
6 metres of satin ribbon ( I used 2m per colour)1 sheet of t-shirt transfer paper for your printer
a computer, a printer, an iron & a pair of scissors
Step 1
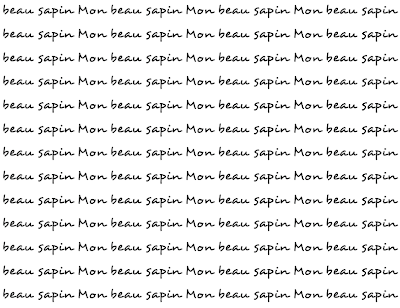
Using your computer, type out a page of your chosen wording in your preferred font type. I used font Desyrel in size 22 (to fit the width of the ribbon) and filled the whole pageStep 2
Print onto t-shirt transfer paper (make sure you select this in your printer settings so that the text prints out in mirror image). Then cut each set of words outStep 3
Cut the ribbon into 40cm lengths (cut on the diagonal so it makes a point - this stops the ribbon from fraying) and, following the instructions for the transfer paper, carefully iron a set of words at each end, placing them about 2.5cm from the pointed end. Step 4
Once the text is in place, peel away the paper & tie the ribbons on the branches of your Christmas tree!et voila! Quelle beau sapin!
Enjoy,
Lisa x
{Livingetc photos by Jeremy Wilson, tutorial photos by Lisa Pocklington}


No comments:
Post a Comment
Want to comment on this? Go ahead!